When I first delved into the world of baking I relied mostly on books for recipes and inspiration but earlier last year I was introduced to the world of baking blogs and food gawker. From that point on I've been bookmarking everything I came across. One of the first posts that I bookmarked was the Anthropologie inspired Easter cookies made by Sugarbelle (which can be seen here: http://www.sweetsugarbelle.com/blog/2011/03/anthropologie-inspired-easter-cookies/) and I had to visit this post again for Easter.
For this post I won't discuss the recipe used for sugar cookies but the decoration process instead.
Royal Icing:
-2 cups icing sugar
-4 teaspoons meringue powder
-water as needed
The icing is very easy and simple to make. It doesn't take long to use instinct when making the icing rather than a recipe. When making cookies there are two types of royal icing needed to make: piping and flood. Piping consistency can be stiff peaked (when you lift a spoon out of the icing the peak will stay in place) or soft peaked (when you lift a spoon out of the icing the peak will fold over but still remain raised). The consistency that is easiest to work for (especially for your hands!) is soft peak royal icing. When making this its easiest to add water in small increments until the consistency is right.

Using a number two piping tip, trace an outline of the cookie cutter, pressing down on the cookie when you start and stop and otherwise hovering a centimeter above the cookie.

The second type of royal icing needed is flood icing. Flood icing requires more water and when the spoon is lifted from the icing the icing will blend back together. This icing is poured into a squeeze bottle and then dispensed on top the cookie. It can be spread with the tip of the squeeze bottle or a toothpick.

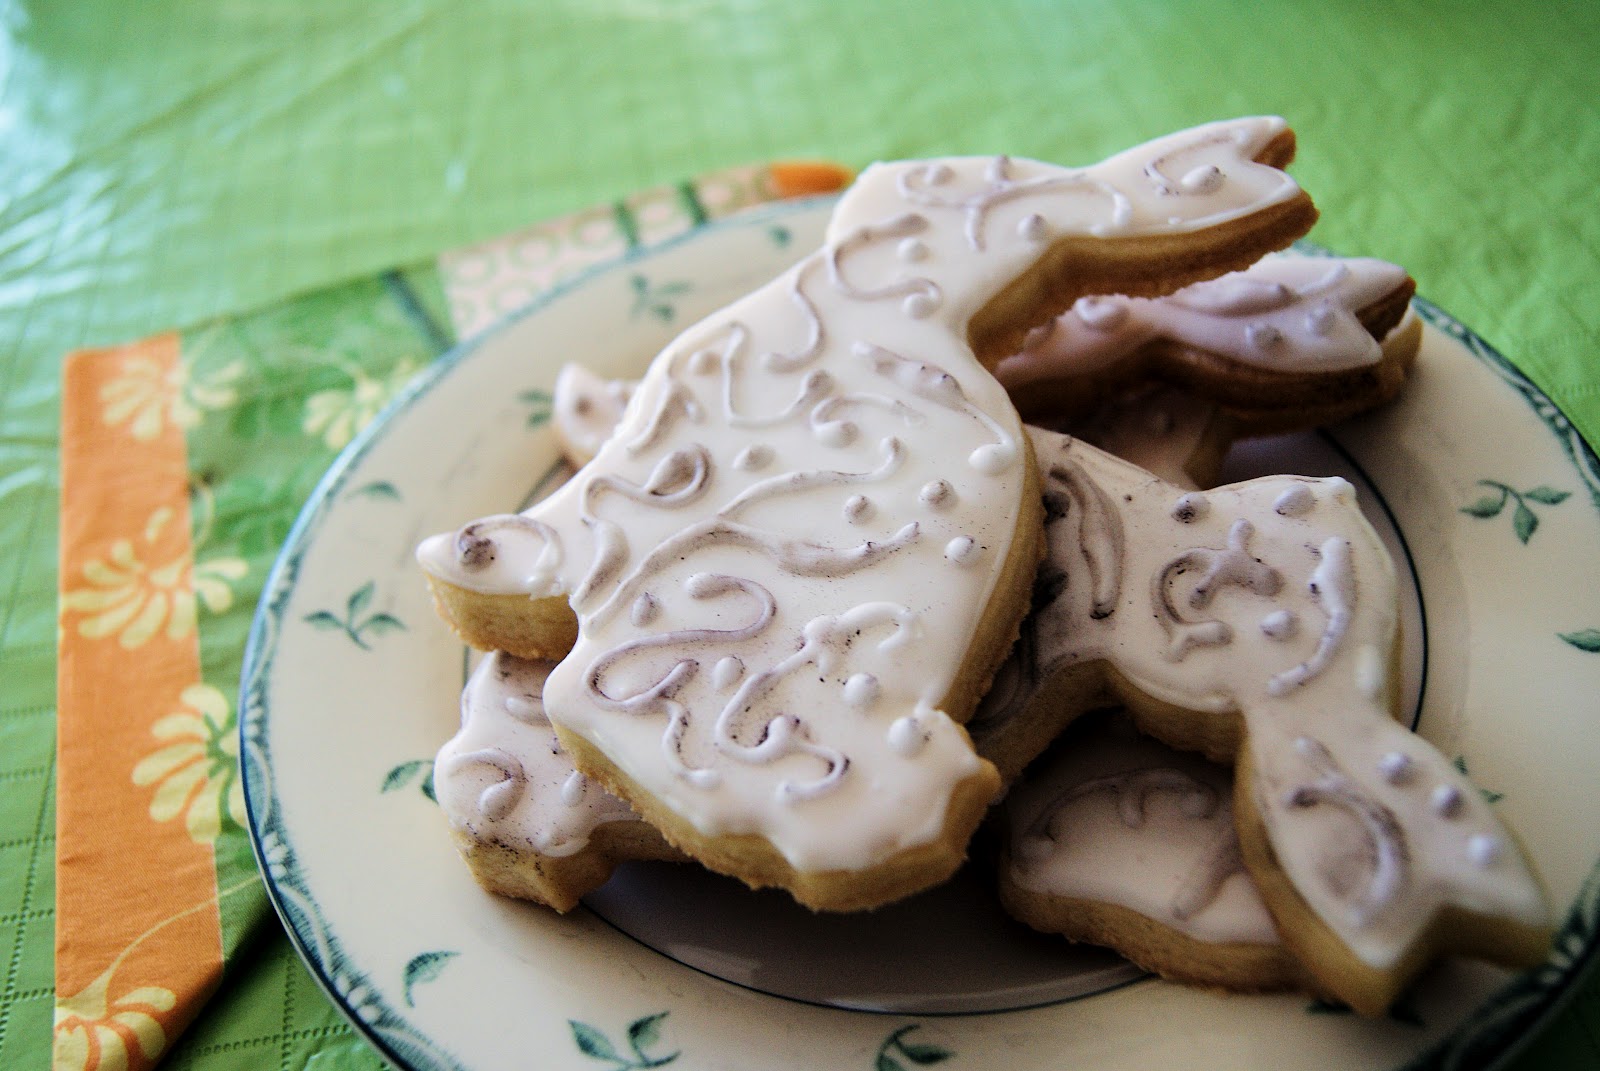
When the flood icing has dried, approx. 3 hours, using another batch of piping icing and size two tip I free-handed a ornate floral pattern. This was much more tedious because I had to come up with the pattern as I went. This layer will take another few hours before it dries.

The last step to making these cookies is to add the rustic details to the pattern. Using a paintbrush (Wilton makes their own and its best not to use one that's been used for actual paint) and a dark brown dusting powder (I used Dark Chocolate by Crystal Colors) brush on the powder just to the second layer of piping. The wetter your brush is the darker the powder will be when applied which is something to keep in mind.