

So now we're into December, the month of baking and exams. And while we're all trying to learn what exactly was going on in those lectures we've been "going to" all term, we can also learn a few new techniques when it comes to our holiday baking.
I'm sure everyone has come across a cookie or some other icing decoration and thought, how could someone possibly have made that so perfect? Well, if that person had a few hundred bucks to throw around, they could have used a projector designed specifically for baking to trace the design, or they could have made transfers traced onto wax paper.

The process of making royal icing transfers is quite simple, however because icing is not the strongest of mediums, I recommend making many back-ups as they will break.
What you need:
-soft peak icing
-flood icing
-piping bag with a number 2 tip
-squeeze bottles
To begin, grease a sheet of wax or parchment paper with butter.
Under the wax paper place an image of what you trying to create. The technique works best with simple images like logos and lettering. An image with layers such as eyes on a person or animal will be more difficult to trace.
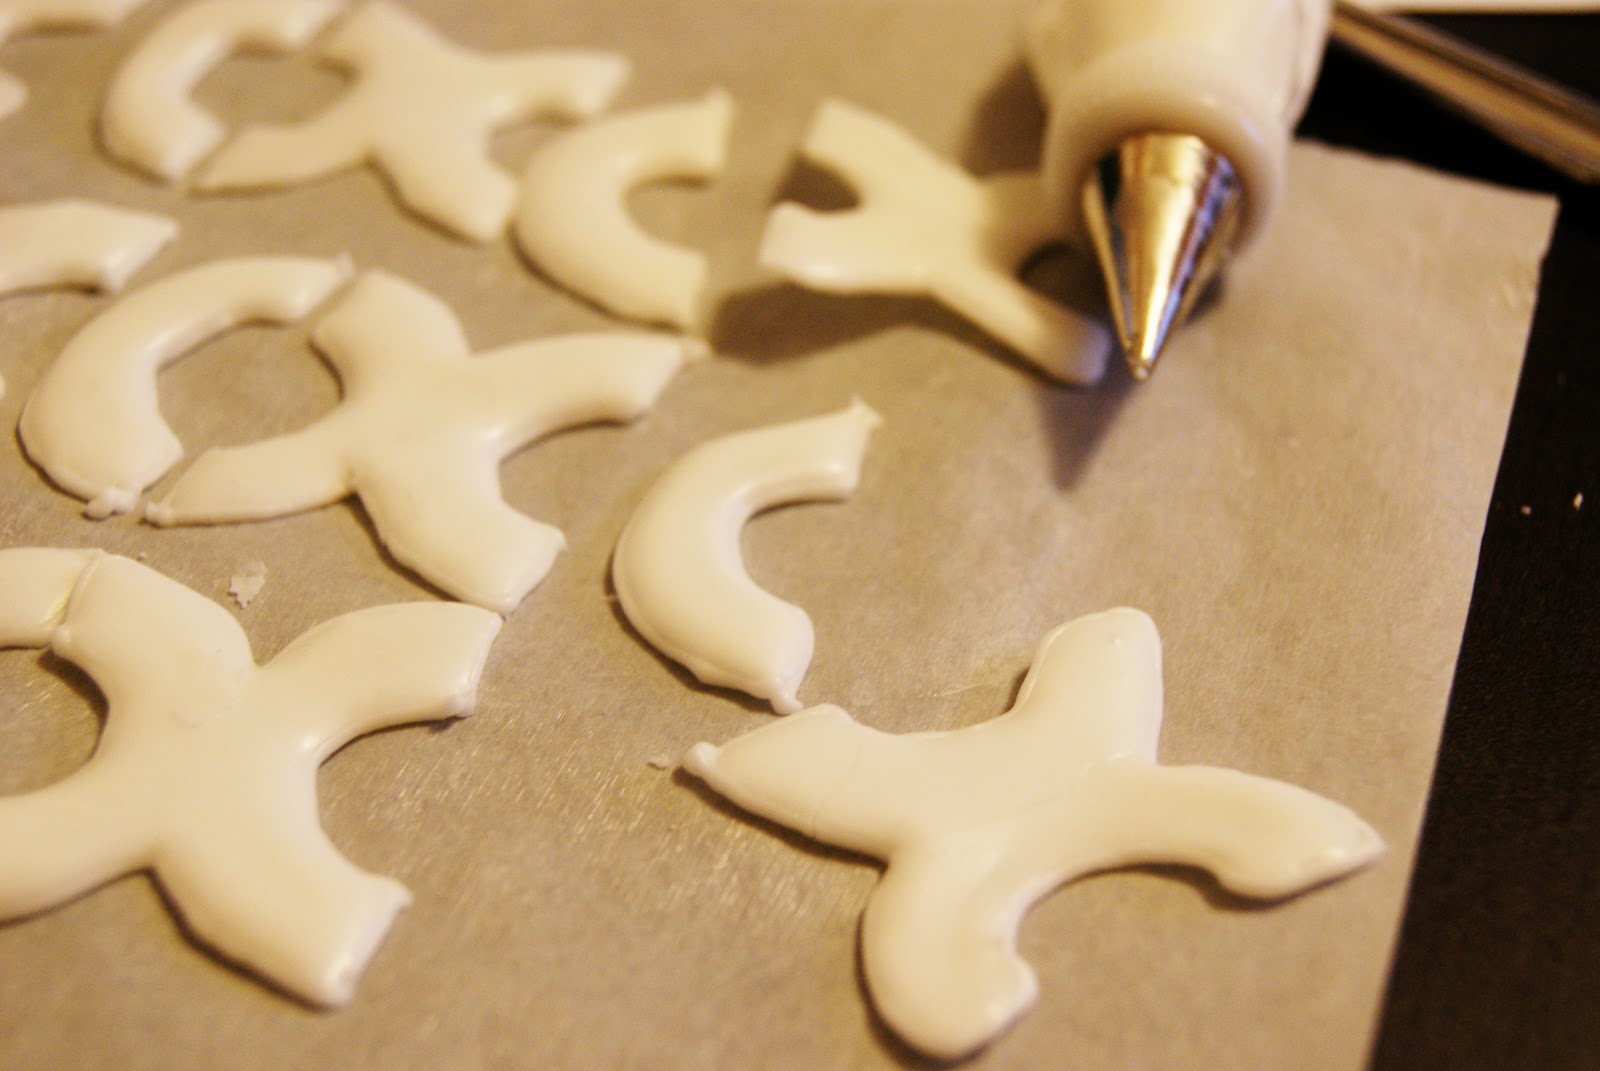
Pipe outlines of the image.

It's best to begin flooding the transfers before the piping dries. This will reduce the chance of the piping breaking.


After a few hours the transfers may seem dry but believe me when I say they won't come of the paper clean until they've dried overnight.
After drying overnight, gently slide them off the paper with a small off-set spatula or pry them off even more gently with a knife.
Pipe the backs with royal icing and secure them to your cookie.


No comments:
Post a Comment